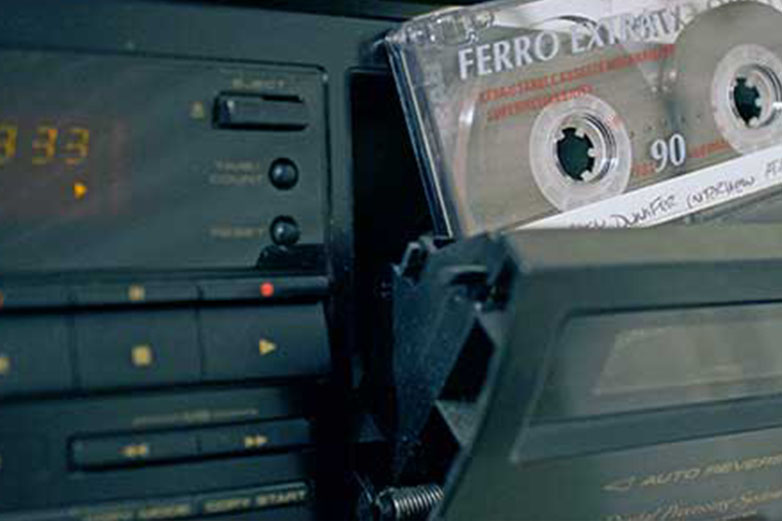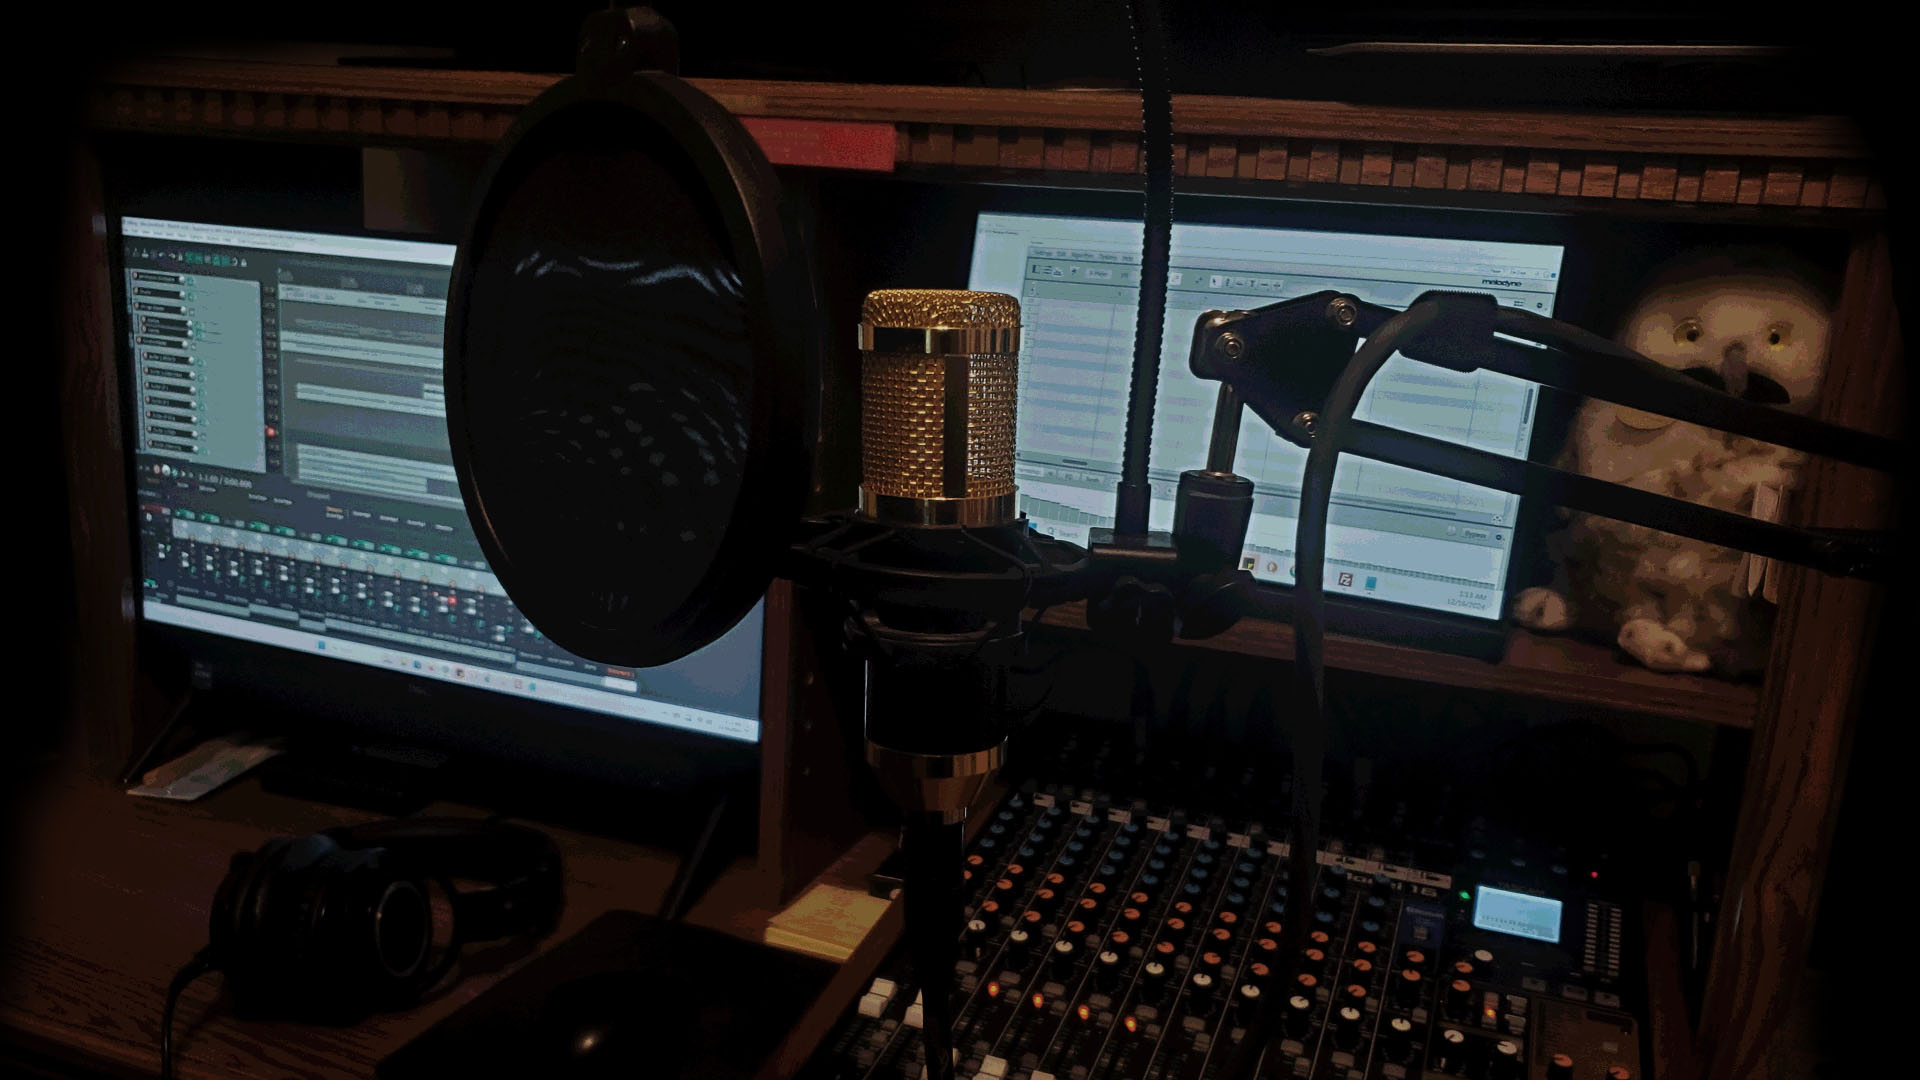
Do you have music and audio projects stored on older formats such as cassette, reel to reel or even vinyl LP records? Time may be running out as many older media storage formats can degrade and even decompose over time. We can safely convert your material and preserve it in digital formats that will last forever. Our process allows us to capture you existing audio, restore it to it’s original glory and even further enhance it for sharing with friends, and family and even possible monetization through modern streaming services.
In the world of music production, preserving the rich, warm sound of analog recordings has become a priority for many engineers and artists. Magnetic audio media, such as cassette tapes, reel-to-reel tapes, and 8-track tapes, were once the standard for recording and distributing music. However, with the rise of digital technology, analog tapes are now at risk of deterioration and obsolescence. Transferring magnetic audio media to digital formats has become an essential process in preserving these recordings and integrating them into modern music production workflows.
Why Transfer Magnetic Audio Media to Digital?
1. Preservation of Audio Quality
Magnetic tape, while durable at the time of production, is prone to degradation over time. Factors such as heat, humidity, and physical wear can result in a loss of fidelity, distortion, and eventual erasure of the recorded content. Digitally transferring audio ensures its preservation in an easily reproducible format.
2. Improved Accessibility
Once transferred to digital formats, the audio becomes more accessible for editing, mixing, and mastering in modern music production environments. Digital files can be stored on hard drives, cloud services, or even distributed over the internet, making them far more accessible than magnetic tape.
3. Seamless Integration into Modern Workflows
Digital audio workstations (DAWs) and modern studio equipment primarily operate in digital formats. By converting analog tapes into digital files, engineers and musicians can seamlessly integrate vintage audio recordings into contemporary projects, preserving their unique sound while enhancing them with digital tools.
4. Archiving and Backup
Digital files are far easier to archive and back up than magnetic tapes. With the proper storage solutions, digital files can be preserved for decades without physical degradation, offering greater peace of mind when storing valuable audio.
The Process of Transferring Magnetic Audio Media to Digital
Transferring magnetic audio media to a digital format requires both the right equipment and technical know-how. Below are the general steps involved in this process.
Step 1: The Necessary Equipment
To begin the transfer process, you’ll need several pieces of essential equipment:
- Analog Tape Player: A working cassette deck, reel-to-reel machine, or 8-track player depending on the type of magnetic media being used.
- Audio Interface or AD/DA Converter: This device bridges the analog world of the tape player with the digital world of your computer. It converts the analog audio signal from the tape to a digital format that can be processed in a DAW.
- Cables and Connectors: Appropriate cables (usually RCA or XLR) to connect the tape player to the audio interface.
- Computer with DAW Software: A digital audio workstation (such as Pro Tools, Logic Pro, or Audacity) is used to record, edit, and store the digital audio files.
- Cleaning Equipment: Magnetic tapes can collect dust, dirt, and grime, so proper cleaning tools for both the tape heads and the tapes themselves are recommended.
Step 2: Preparing the Tape and Equipment
Before beginning the transfer, it’s essential to ensure that both the tape and the equipment are in good condition:
- Clean the Tape Heads: Use a soft cloth and specialized cleaning solution to remove dirt and debris from the tape player’s heads. This ensures optimal playback quality during the transfer.
- Inspect the Tape: Check the magnetic tape for signs of physical damage, such as warping, cracking, or tears. Tapes that are too damaged may need to be professionally repaired before transferring.
- Test the Tape: Play the tape through the analog player to confirm that the audio is intact and the player is functioning correctly.
Step 3: Connect the Equipment
Once the tape is prepared and cleaned, connect the analog tape player to the audio interface using the appropriate cables. The audio interface will take the analog output from the tape player and convert it into a digital signal that the computer can process.
Step 4: Set Up the Digital Audio Workstation (DAW)
Open your DAW on the computer and set up a new project or session. Select the audio interface as your input device and set the correct sample rate and bit depth for the transfer. A common setting for high-quality audio is 44.1 kHz sample rate with 24-bit depth, although higher sample rates such as 96 kHz may be used for certain applications.
Step 5: Record the Audio
With everything connected and set up, start the tape player and begin recording in the DAW. It’s important to monitor the levels during the recording process. If the levels are too high, the audio may clip and result in distortion, while too low levels could introduce unwanted noise. Aim to keep the levels consistent without reaching the maximum limit.
Step 6: Post-Processing and Editing
Once the audio is captured, you can begin editing the digital file. The first step is to remove any unnecessary silence or tape hiss at the beginning or end of the recording. Additional post-processing may involve:
- Noise Reduction: Some tapes may have a noticeable hiss, which can be reduced using noise reduction software.
- EQ and Compression: Adjust the frequency balance and dynamics of the audio to match the desired sound.
- Restoration: In some cases, damaged tapes may require audio restoration tools to repair dropouts, clicks, or other artifacts.
Step 7: Export and Store the Audio
Once the audio has been edited and processed, it’s time to export the file into a digital format, such as WAV, AIFF, or MP3. High-resolution formats like WAV are often preferred for music production because they retain the original quality of the recording. Store the files on reliable hard drives or cloud services, ensuring you have a backup for long-term preservation.
Challenges in Transferring Magnetic Audio Media to Digital
While the process of transferring magnetic audio to digital is straightforward, there are several challenges that can arise:
- Tape Degradation: Over time, magnetic tapes can deteriorate, leading to poor quality or even total loss of audio. In such cases, specialized restoration techniques may be required.
- Equipment Compatibility: Older tape players and audio interfaces may not be compatible with modern digital equipment. In some cases, it may be necessary to source vintage equipment or use specialized adapters.
- Time-Consuming Process: Transferring audio from tapes can be a labor-intensive task, especially if dealing with multiple hours of material. Automation tools may help, but manual supervision is often required to ensure quality.
Conclusion
Transferring magnetic audio media to digital is an essential process in preserving vintage recordings and ensuring they remain usable for modern music production. By following the proper procedures and using the right equipment, musicians and producers can breathe new life into their analog collections, making them ready for the digital age. Whether for archival purposes or creative use in contemporary projects, the digital transfer process plays a vital role in maintaining the integrity and accessibility of audio history.
Feel free to use this guide yourself if you want to delve into the world of audio preservation and restoration, and if you need any assistance or guidance, we would be more than happy to help. Contact Us regarding a consultation for your project today!!
